The night sky, adorned with stars, planets, and celestial wonders, has captivated the imagination of humanity for centuries. With advancements in camera technology, capturing the beauty of the cosmos has become more accessible than ever. In this guide, we will explore the art and techniques of stellar photography, empowering you to embark on your own journey of capturing the mesmerizing tapestry of the night sky.
Essential Equipment for Stellar Photography
1. Camera Gear
Invest in a camera with manual settings, preferably a DSLR or mirrorless camera, to have greater control over exposure and focus. Interchangeable lenses allow versatility, especially for wide-angle shots.
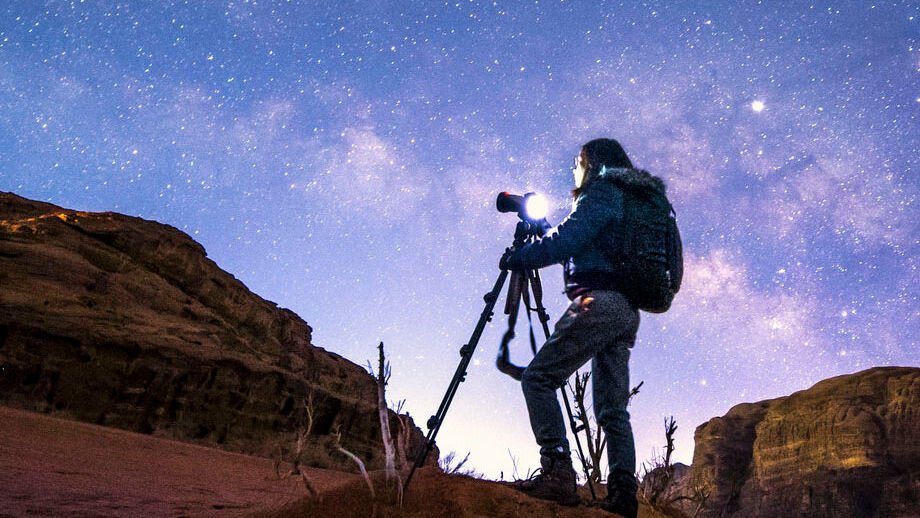
2. Sturdy Tripod
A stable tripod is crucial for capturing sharp and steady images, especially during long exposures. Choose a tripod with adjustable height and a sturdy build to withstand varying terrains.
Understanding Night Sky Photography Basics
1. Camera Settings
- Aperture: Use a wide aperture (low f-stop) to allow more light into the lens. This is crucial for capturing faint starlight.
- Shutter Speed: Experiment with different shutter speeds. Longer exposures capture more light but may result in star trails. A general starting point is around 15-30 seconds.
- ISO: Higher ISO settings (e.g., 800-3200) are often necessary for low-light conditions. Be mindful of noise, though, and find the right balance for your camera.
2. Manual Focus
Switch to manual focus and set your lens to infinity. Fine-tune the focus by capturing test shots and adjusting until the stars appear sharp.
Capturing Star Trails
1. Long Exposures
Star trail photography involves capturing the apparent motion of stars across the sky during a long exposure. Use a remote shutter release to minimize camera shake.
2. Stacking Images
To enhance star trails, capture multiple images and stack them using software. This reduces noise and enhances the overall clarity of the trails.
Astrophotography of Celestial Objects
1. Photographing the Moon
For detailed moon shots, use a telephoto lens and experiment with different phases. A fast shutter speed may be required to avoid overexposure.
2. Imaging Planets
Capture the planets in our solar system using a telescope or a telephoto lens with high magnification. Stacking multiple images can reveal more details.
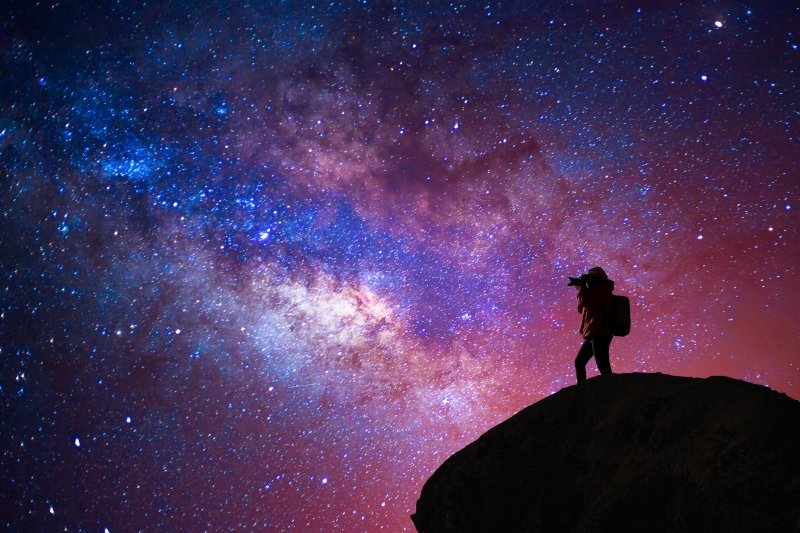
Milky Way Photography
1. Location and Timing
Choose a location far from light pollution, ideally during a new moon for darker skies. The Milky Way is most visible during specific seasons and times.
2. Composition Tips
Incorporate foreground elements such as landscapes, trees, or mountains to add depth to your Milky Way images. Experiment with different compositions to create visually appealing shots.
Post-Processing Techniques
1. Image Stacking
Stacking multiple images reduces noise and enhances details in astrophotography. Software like DeepSkyStacker or Sequator can aid in this process.
2. Color Correction and Enhancement
Adjust the color balance to bring out the natural hues of the night sky. Tweak contrast and brightness to emphasize the details in your stellar photos.
Photographing Meteor Showers and Celestial Events
1. Meteor Showers
During meteor showers, use a wide-angle lens and set a long exposure to increase the chances of capturing meteor streaks. Patience is key, as meteor activity can vary.
2. Lunar and Solar Eclipses
For eclipses, use a telephoto lens to capture details of the moon or sun. Experiment with exposure settings to balance the brightness of the eclipsed body.
Advanced Techniques: Deep Sky Astrophotography
1. Deep Sky Objects
Capture distant galaxies, nebulae, and star clusters with specialized astrophotography equipment like tracking mounts and telescopes.
2. Autoguiding
To achieve longer exposures without star trailing, consider autoguiding systems that adjust the telescope’s position to compensate for Earth’s rotation.
Sharing Your Stellar Masterpieces
1. Social Media and Astronomy Communities
Share your astrophotography on social media platforms like Instagram and Twitter. Join astronomy forums and communities to connect with fellow enthusiasts and receive feedback.
2. Night Sky Timelapses
Create captivating timelapse videos of the night sky by stitching together a sequence of still images. Timelapses add a dynamic element to your stellar photography portfolio.
Conclusion
Stellar photography opens a gateway to the wonders of the universe, allowing you to capture the beauty of the night sky in ways that were once reserved for professional astronomers. Armed with the right equipment, knowledge of camera settings, and a dash of creativity, you can embark on a celestial journey, capturing the brilliance of stars, the majesty of the Milky Way, and the fleeting beauty of meteor showers. So, set up your camera, find a dark sky location, and let the cosmos be your canvas as you unveil the awe-inspiring spectacle of the night sky through the lens of your camera.